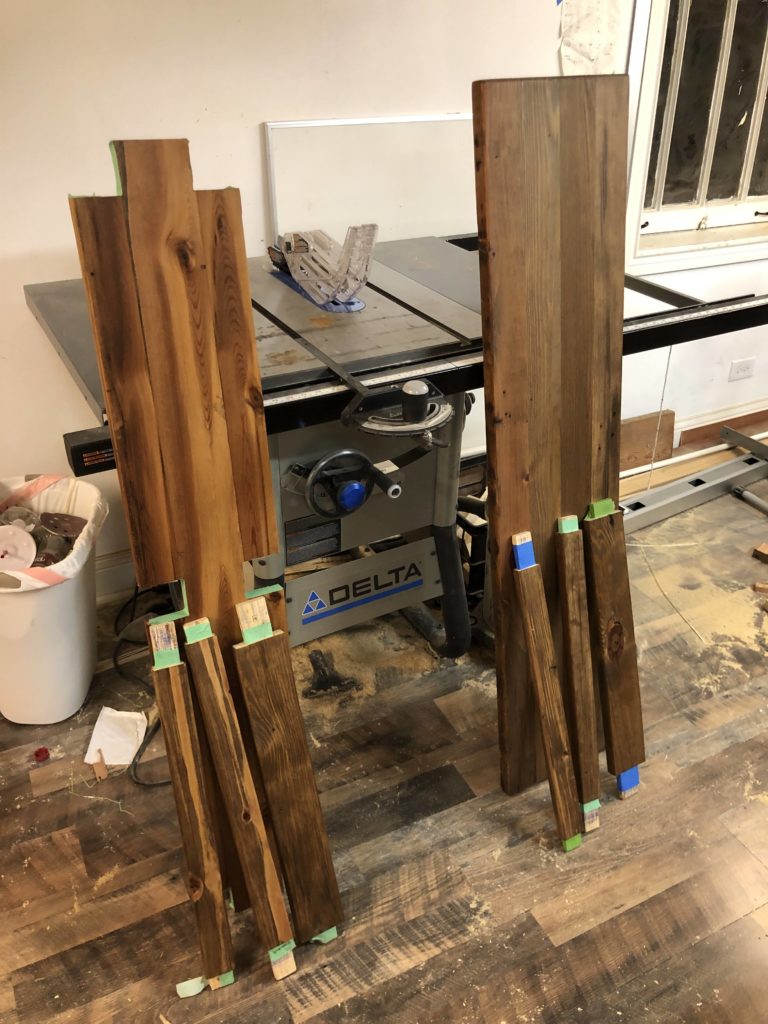
Step 1 – Getting the Wood
It’s amazing to me that something I build today might still be around in 100 years. Reclaimed wood has an even more special quality to it — the old growth Douglas Fir that I found at the local Reuse Depot could have been over 200 years old when harvested, and could have been pulled from a house that itself was 100 years old.
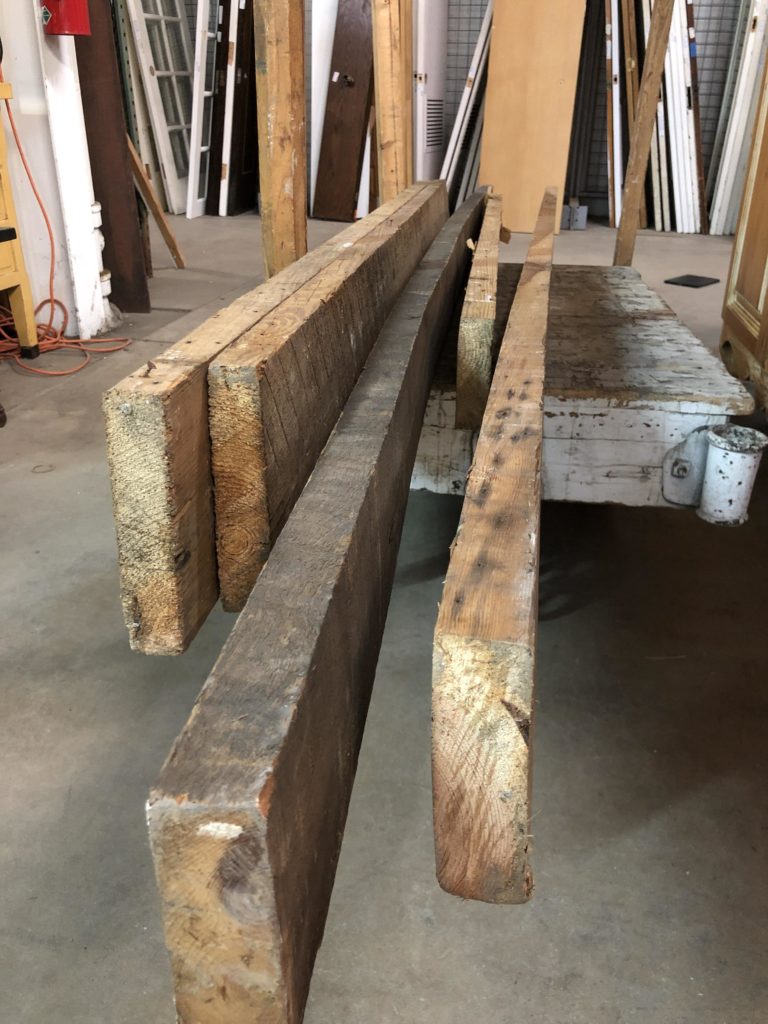

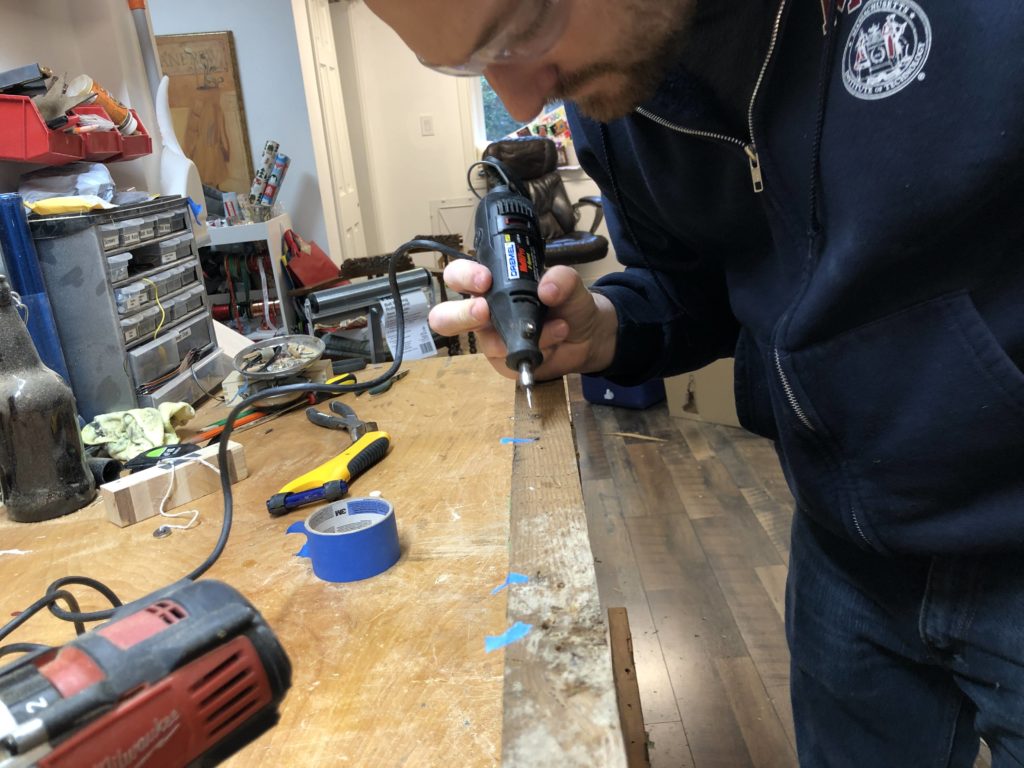
The cool thing, of course, with reused wood is that it carries a ton of history with it. The challenge is that the “history” is in the form of nails, staples and other stuff that you need to take out before putting it through a saw or planer. To make it even more fun, some of these nails are buried deep in the wood, out of sight to anything other than a magnetic nail scanner.
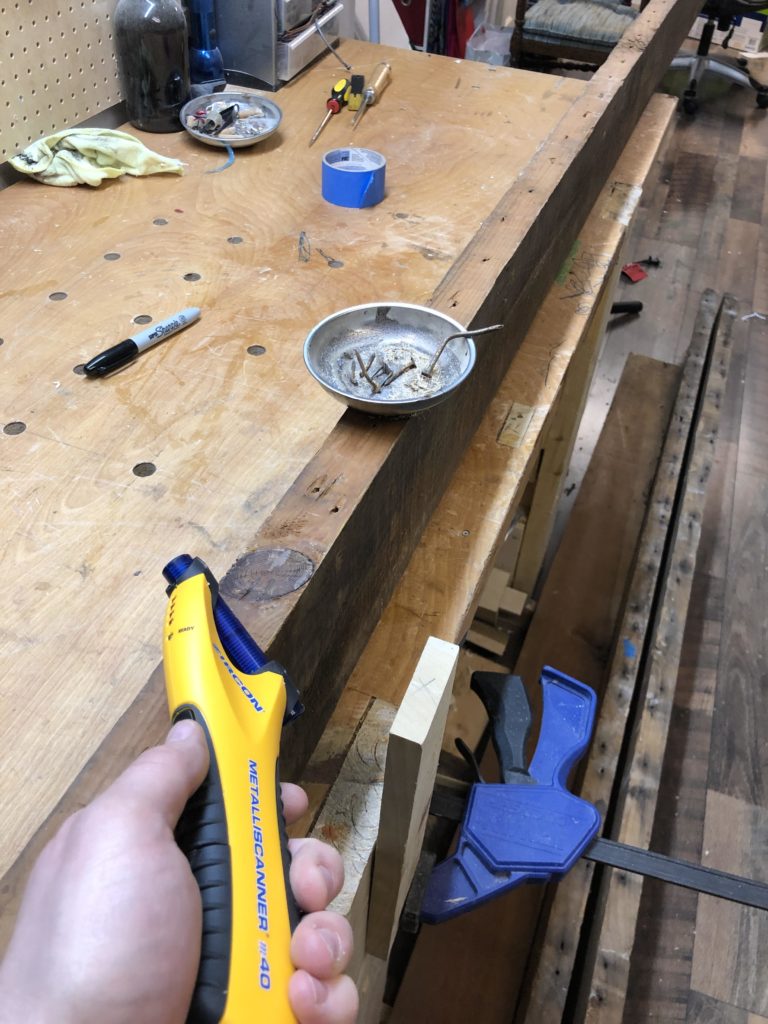
Step 2 – Raw Wood to Bench Wood
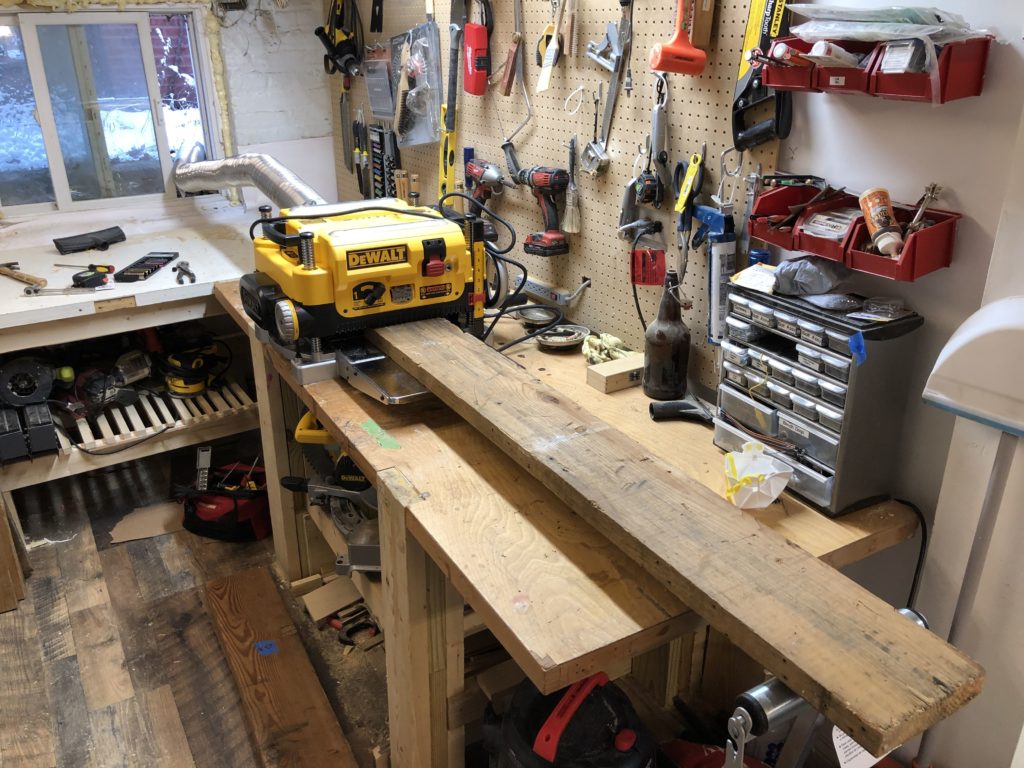
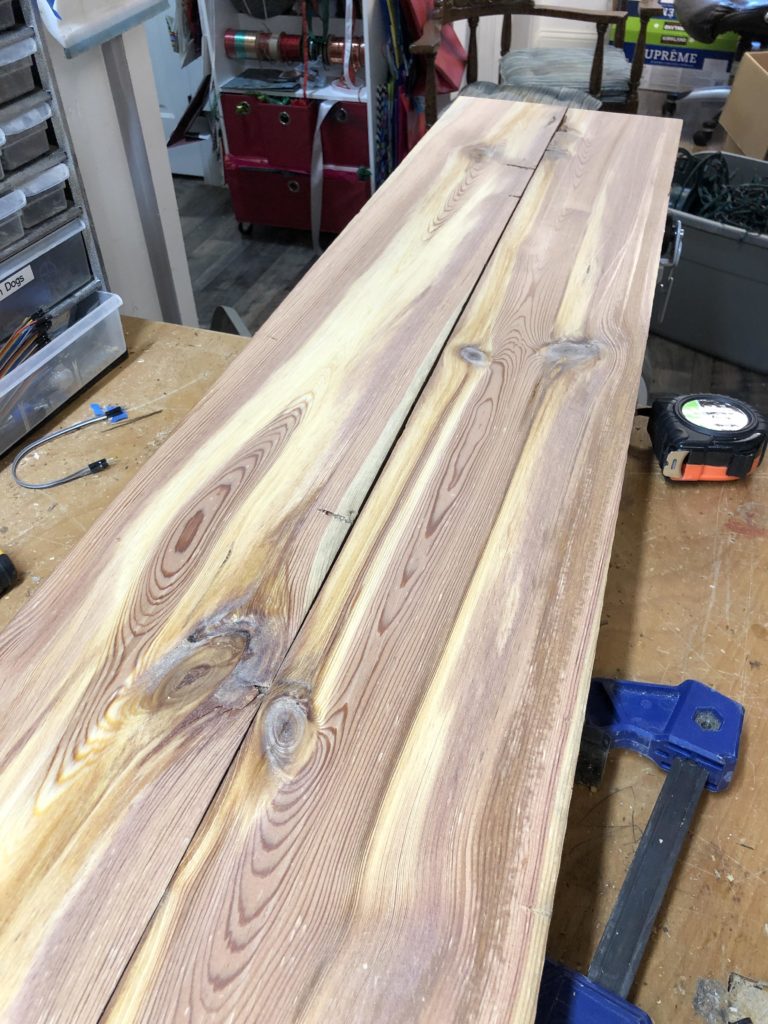
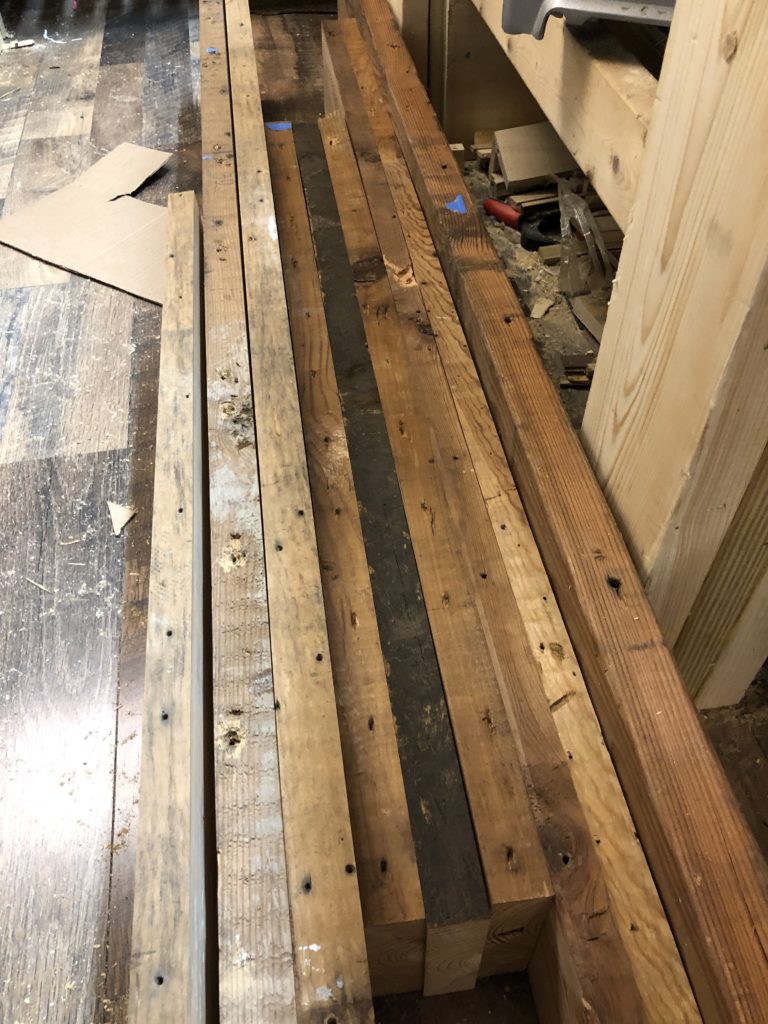
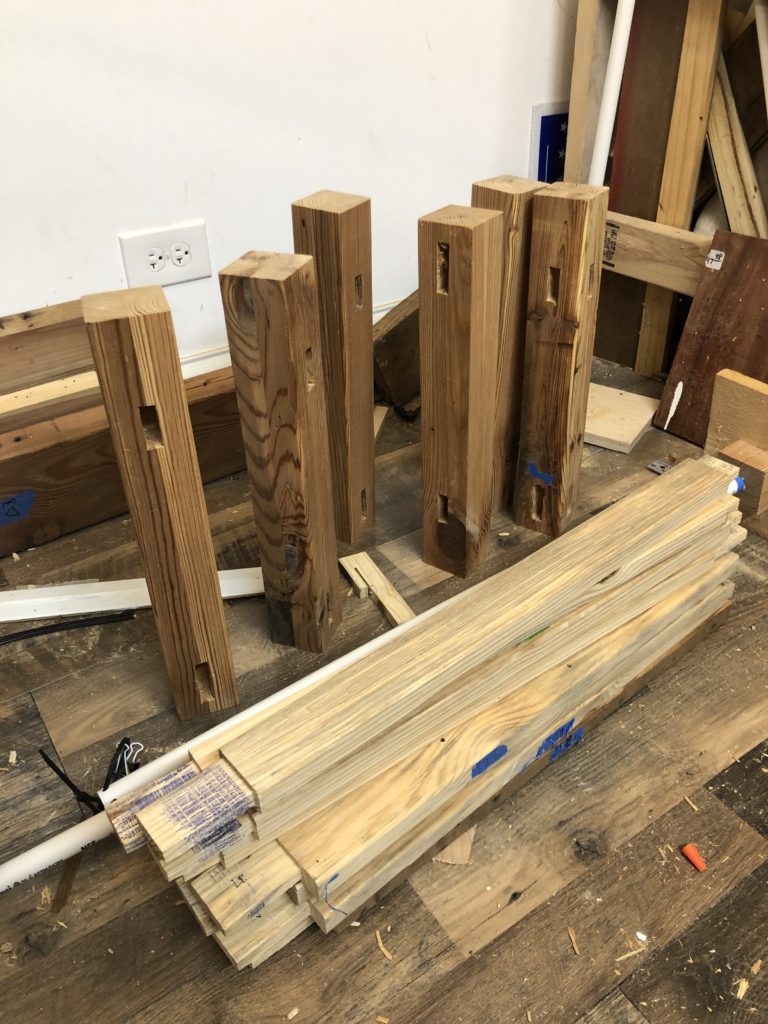
After processing the wood, I was ready to plane it down to the right thickness. I had drawn up plans so I knew the exact dimensions of each board, now it was just a matter of taking these boards down to size. I had to be careful — a lot of the appeal of reclaimed wood is the character — those saw marks, nail holes and rust stains from a previous life. These are easy to lose if you’re not careful with the saws, sanders and planer.
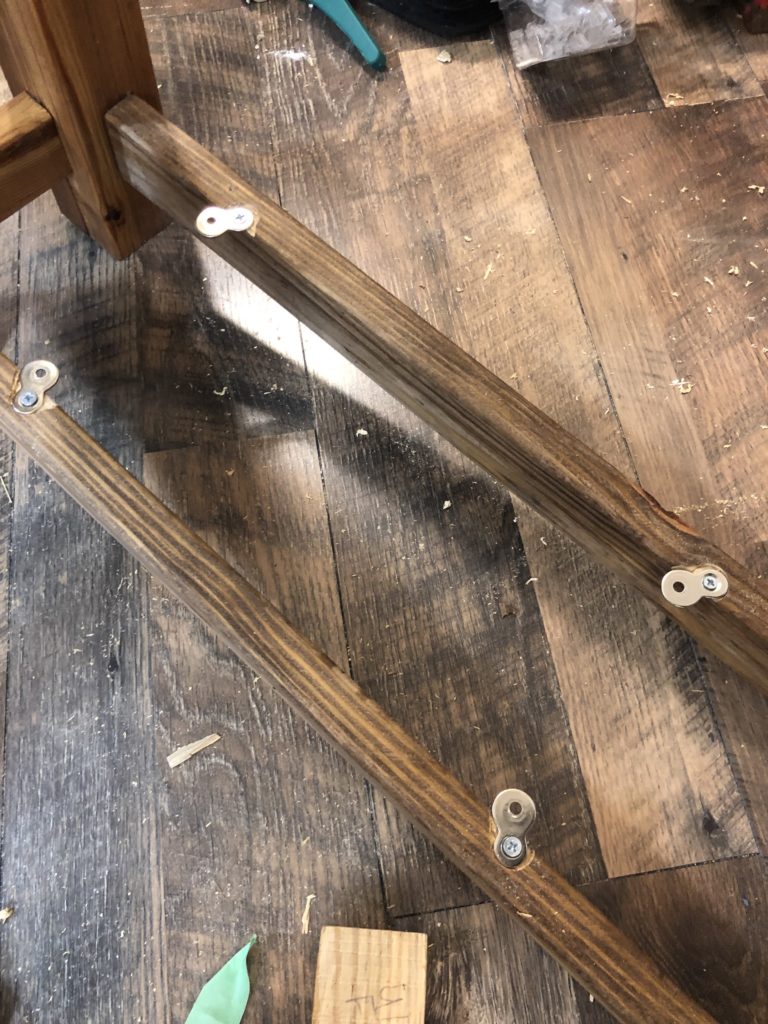
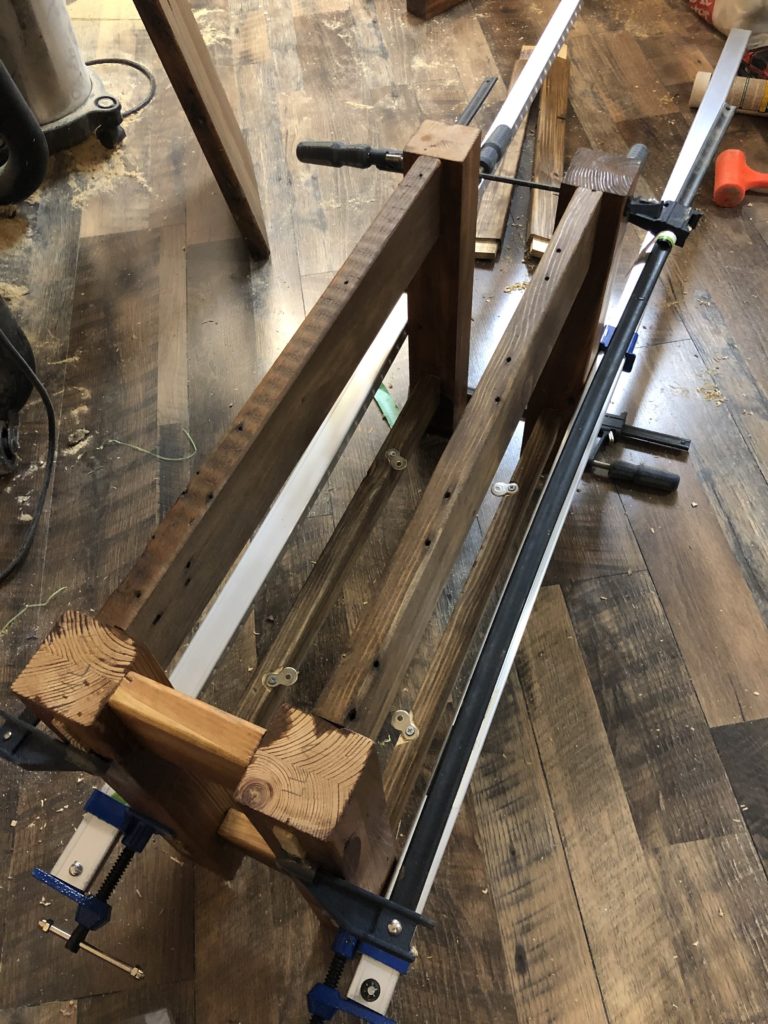
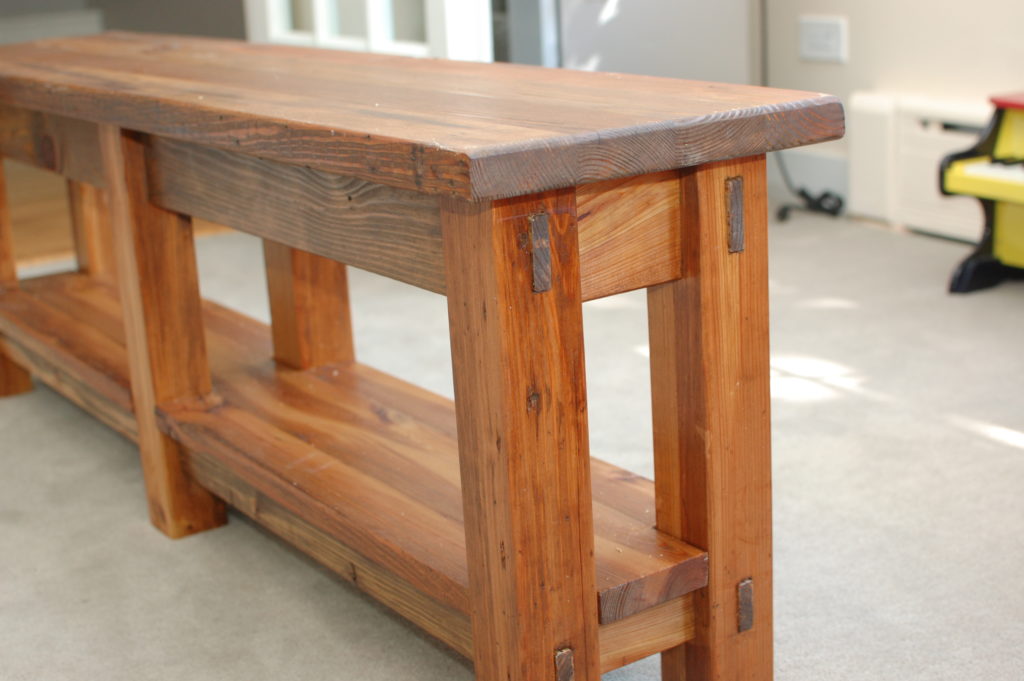
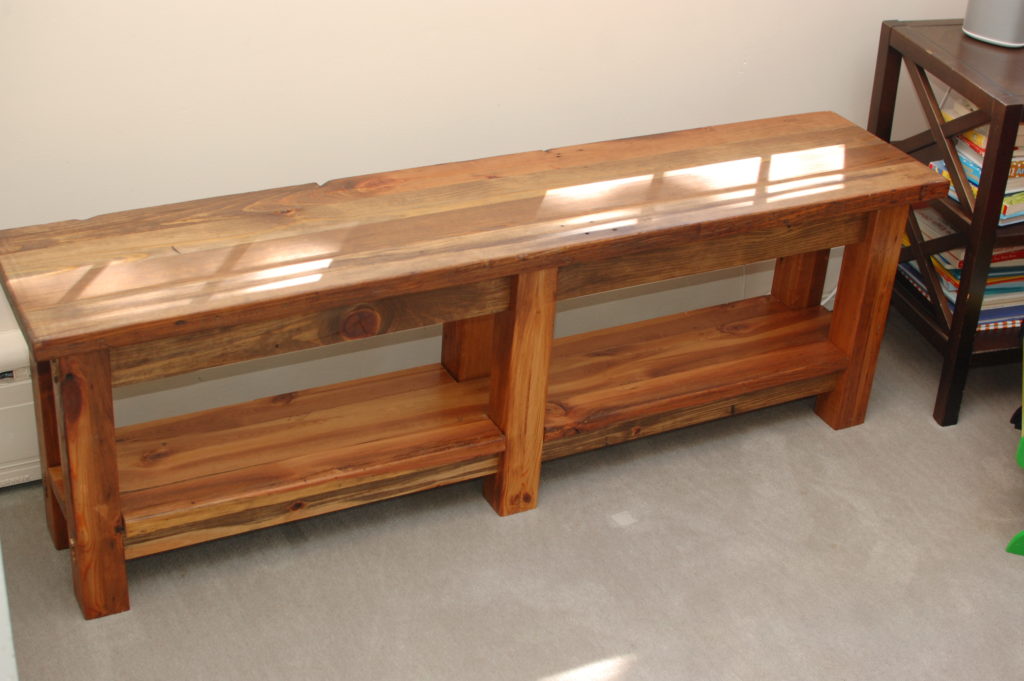
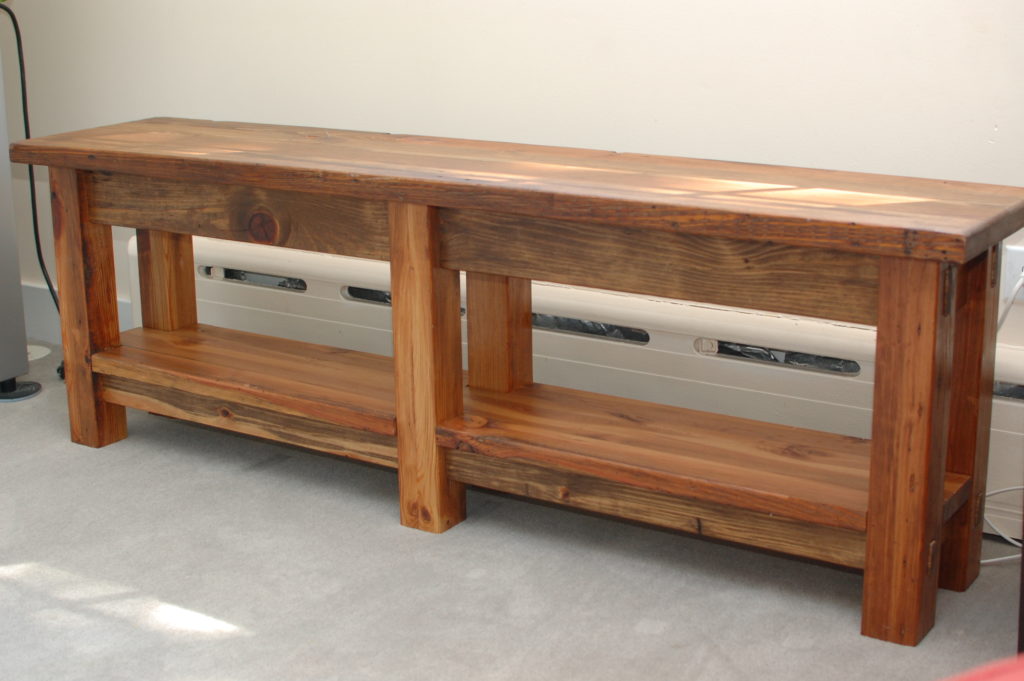
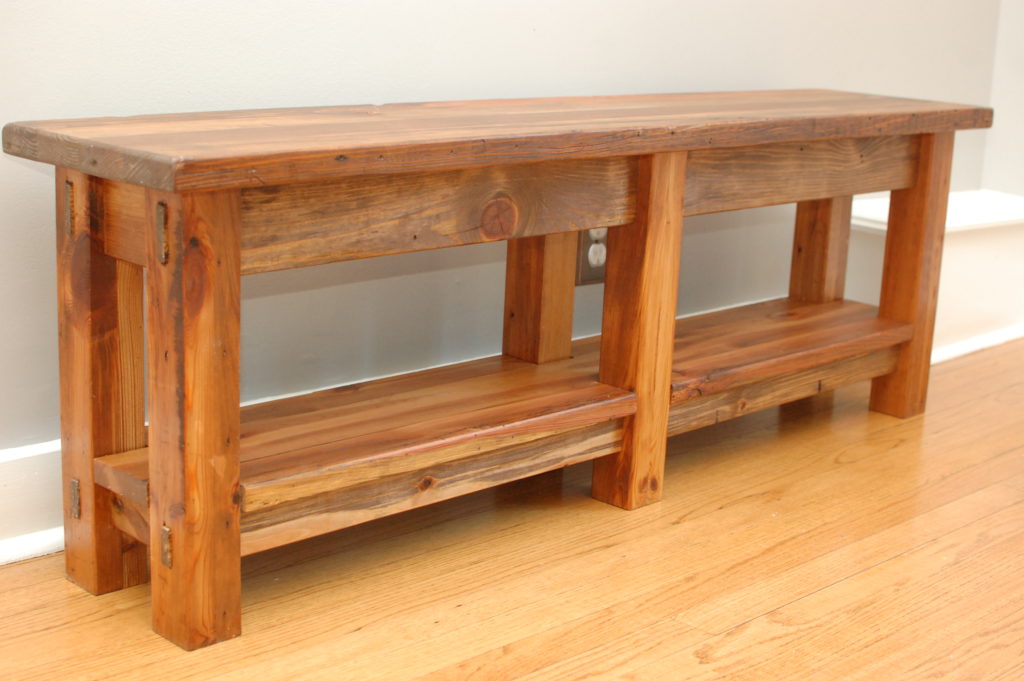
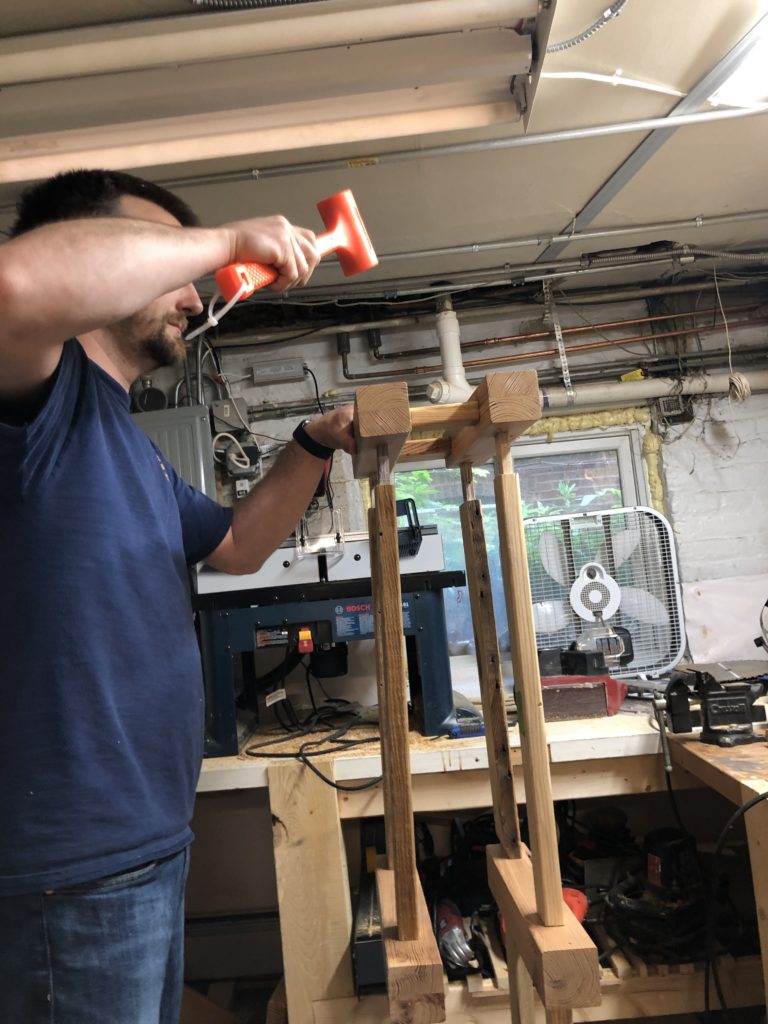
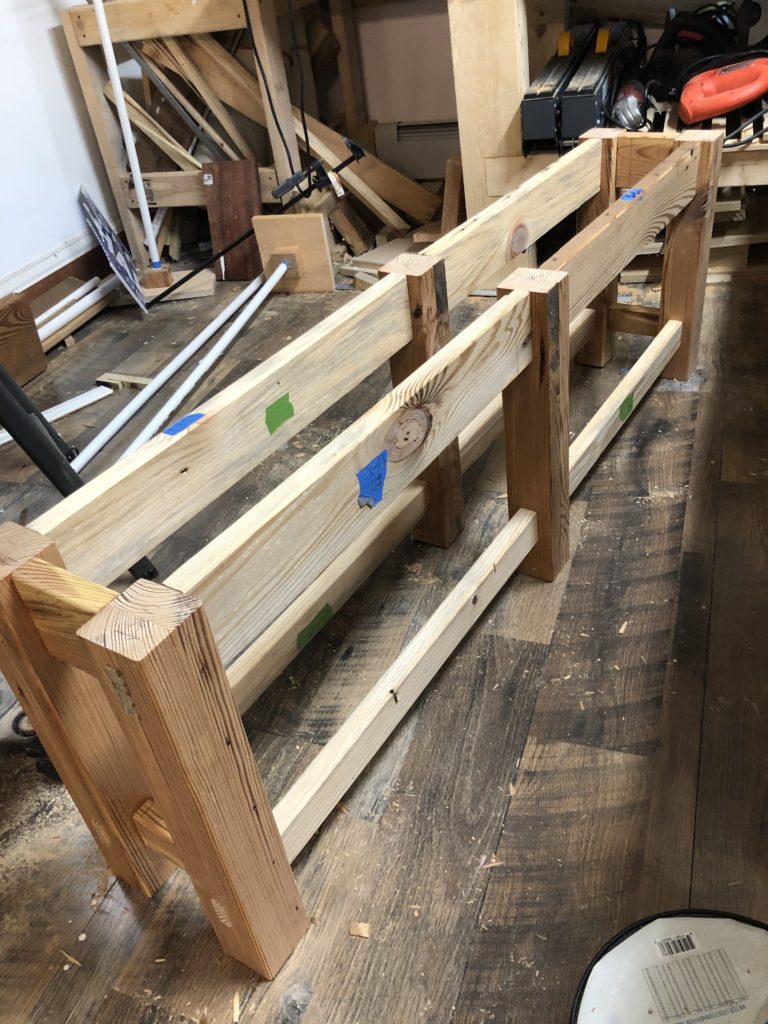
Step 3 – Putting It All Together
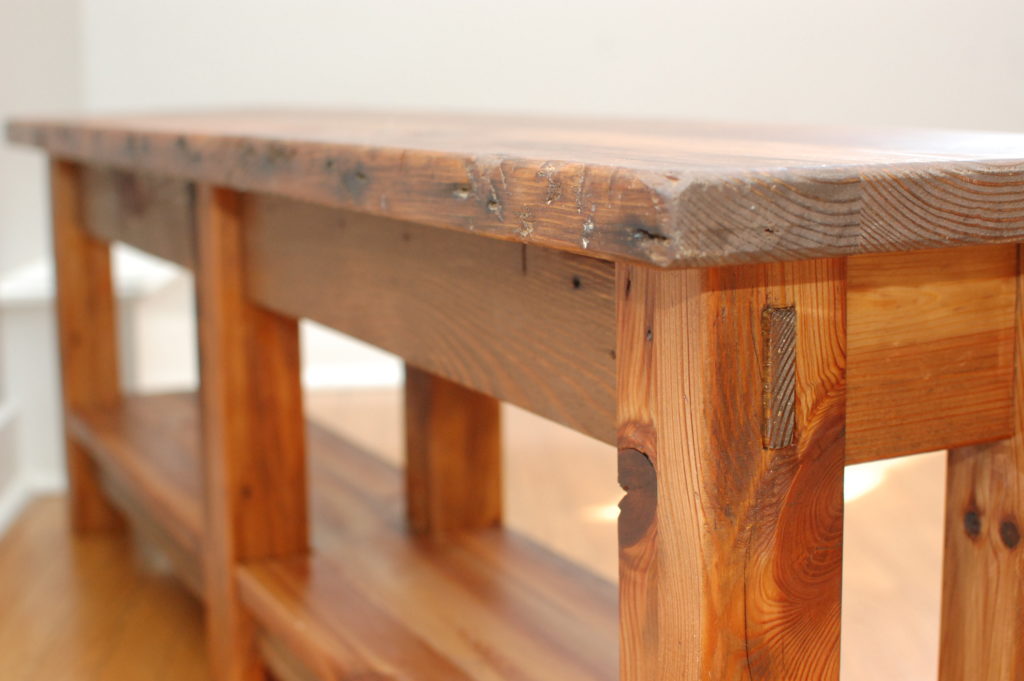
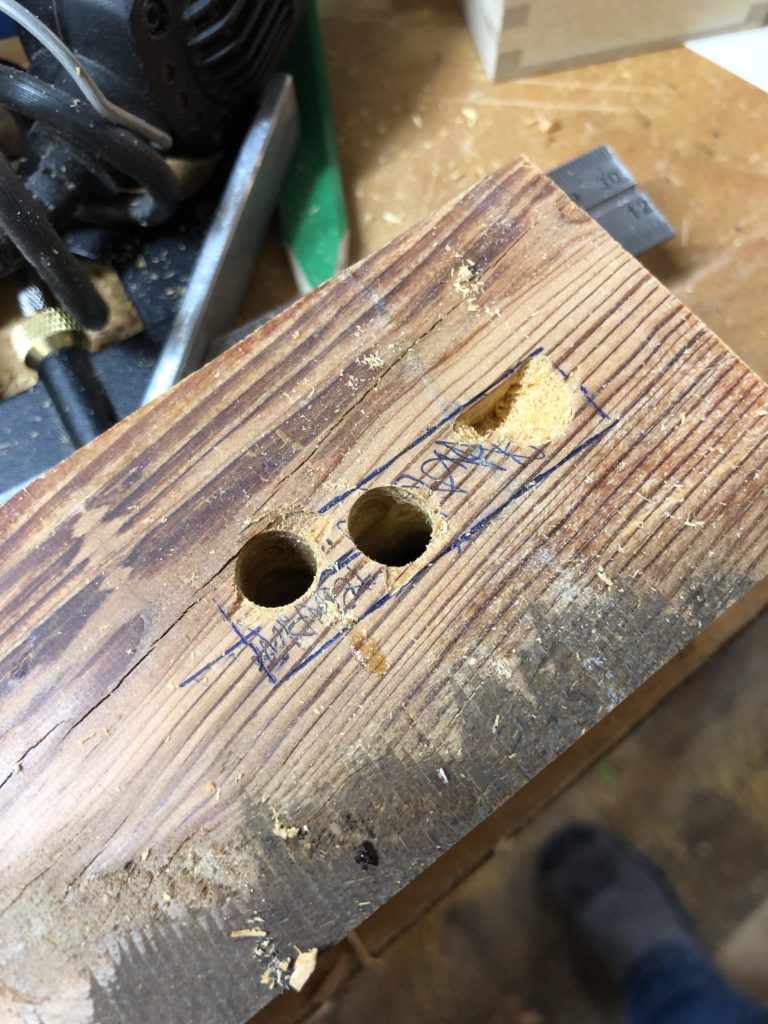
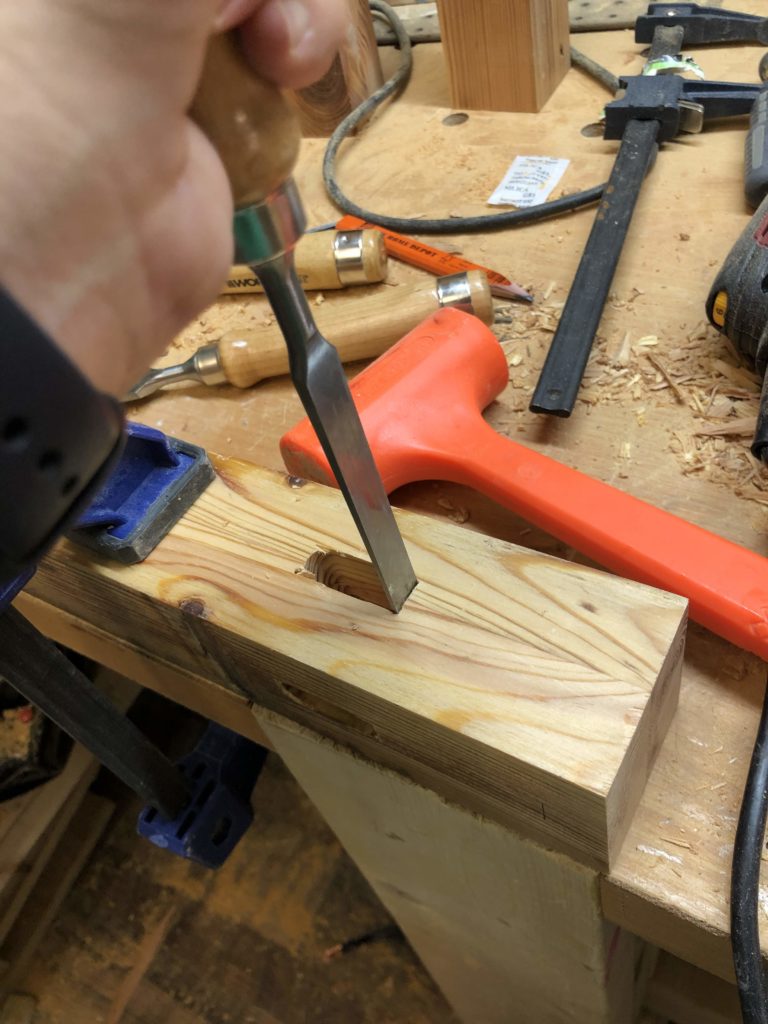
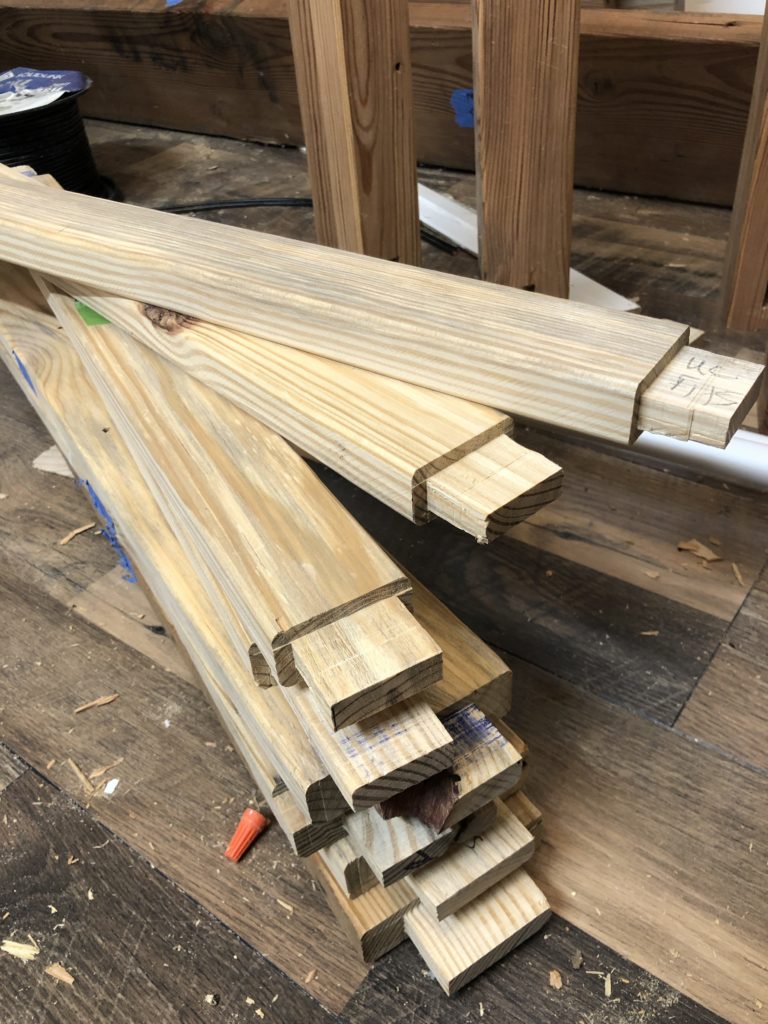
This was my first mortise and tenon project. To the non-woodworkers, mortise and tenon joints are when a woodworker cuts the wood to fit together like a puzzle. The mortise is the slot and the tenon is the piece that is glued into that slot.
For this project, I chose to use “through tenons”, which means the side piece goes all the way through the connecting piece. This is a very strong but fairly unforgiving joint, as any errors are obvious where the wood meets. In retrospect, probably not the best choice for my first mortise and tenon project!

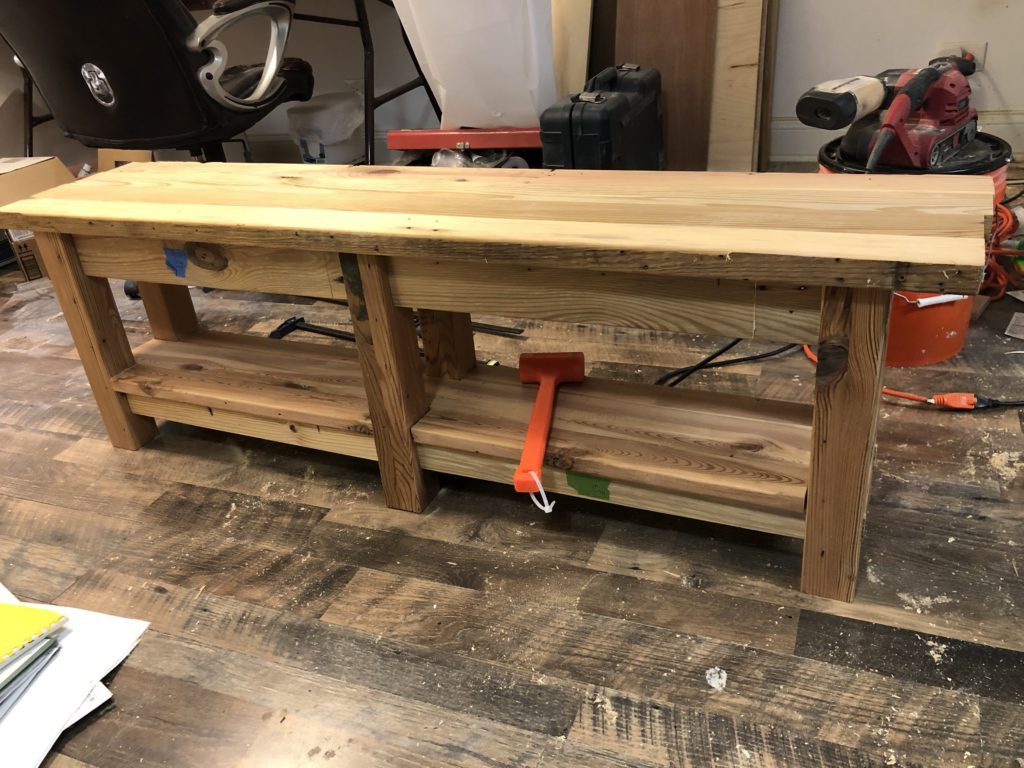
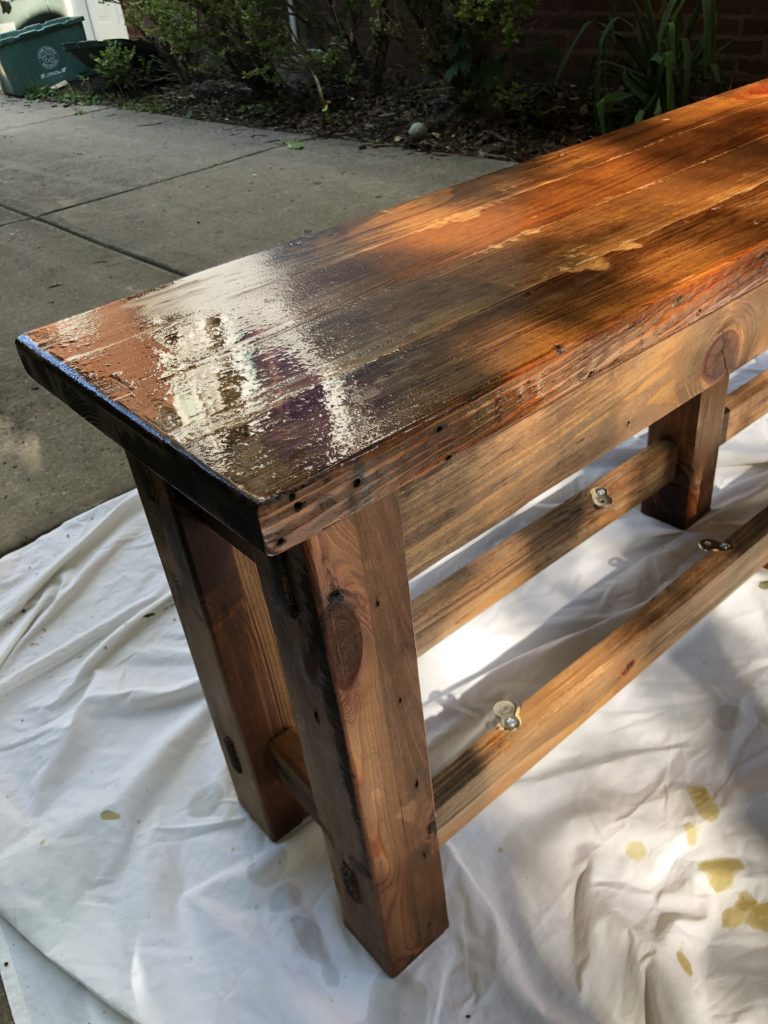
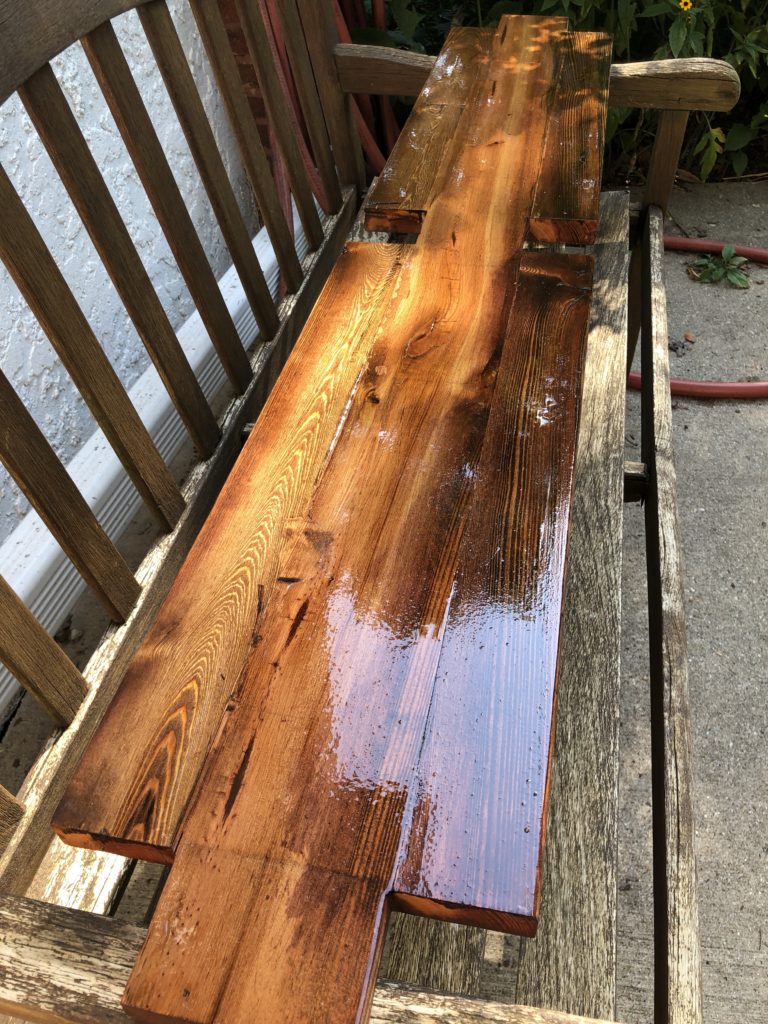
Step 4 – Finishing
The last step is applying a slightly darker stain to better match the rest of my furniture. I picked a color that would darken up the piece a bit, while still showing through a lot of the grain and character. My mother-in-law is an expert wood stainer, so she helped tremendously on this step.
I finished the whole thing with Danish oil, which is an oil that hardens and gives a dull gloss. It shows off the wood’s character and isn’t “plasticy” like polyurethane.